Booking Areas |
  
|
Booking Areas |
|

The booking areas show you which equipment items are included in your booking, along with the duration of your booking. Booking areas are colour coded, meaning that those with the same colours belong to the same booking. Clicking on a booking area will make it, along with any other areas belonging to the same booking pulse. Clicking on a booking area will also open the Booking Pane to allow you to see the specifics of the booking, such as the details of the booking, and the address at which it is to be used. Double clicking on a booking area will open the Edit Booking window.
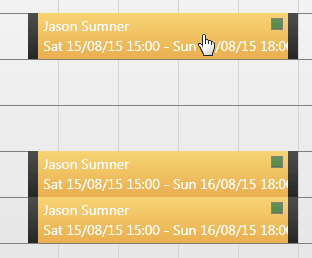
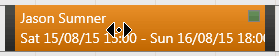
The duration of booking areas can be increased or decreased by dragging the handles at the start or end of the area. The entire booking can be shifted in time by dragging the area to the left or right as required.

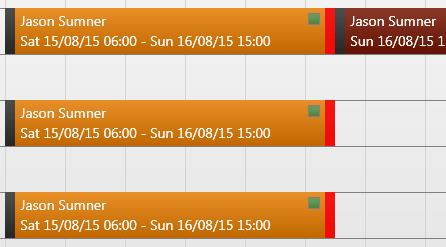
If you attempt to extend the booking area to a point where it conflicts with another booking (even if you can't see the conflicting booking as it may be in a collapsed group, for example), the boundary handle not extend beyond the allowable point, and will pulse red to let you know this is the case.
Booking areas can also be dragged to different lanes to quickly change the item of equipment included in the booking. To do this, simply drag the booking area up or down to adjacent lanes.
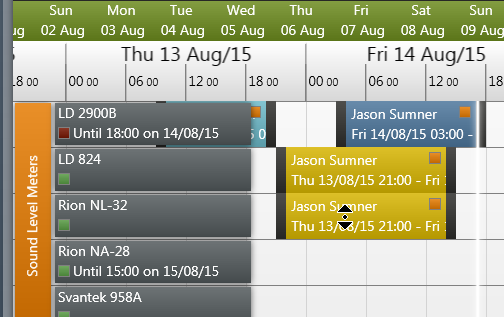
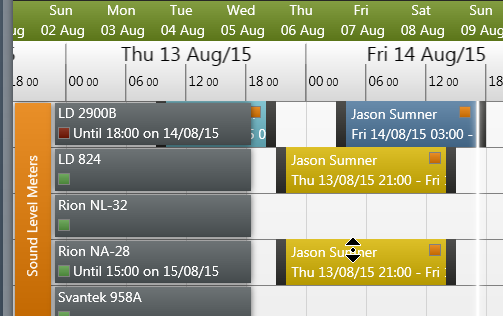
The booking areas also contain Status Indicator with the following significance:
Orange – Provisional Booking
Green – Confirmed Booking
Tip - Right-Clicking on a booking area will allow you to select the option of copying the equipment used in the booking to the clipboard.
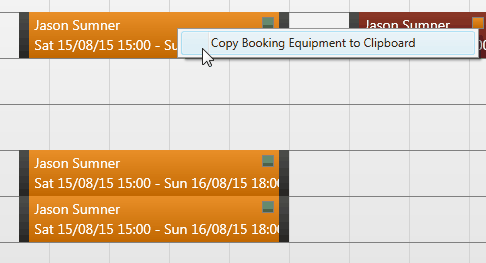
Selecting this option will open the Booking Items to Clipboard window, allowing you to select which items you want to copy to the clipboard.
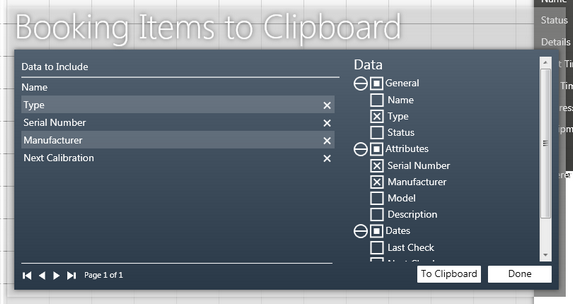
These can then be pasted in Excel, for example, or a Microsoft Word table.
