Checking In |
  
|
Checking In |
|
The check-in process is largely the same as the Checking Out process. Bookings can be checked-in in the following ways:
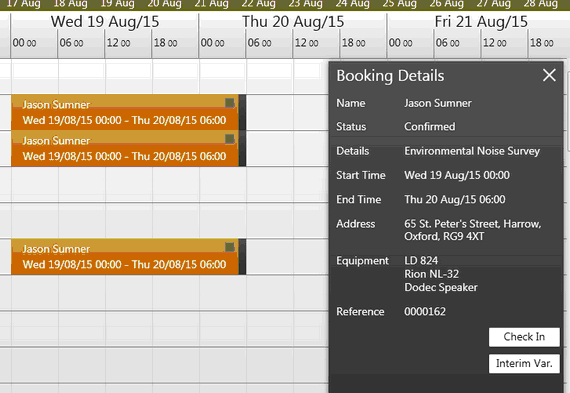
Selecting a booking by either clicking on the Booking Area, or clicking on an entry in your My Bookings list will show the booking pane. From here, you can click the Check In button.
Clicking the Scan button in the Top Bar (or pressing Space Bar - see Keyboard Shortcuts for more info) will make InstruManager listen for barcode scanner input.
All you need to do then is scan any item in your booking and the check-in window will open ready for you to complete your check-in.
If you are not signed in, or InstruManager is in Station Mode, you will be automatically signed in providing a password is not required. If your database is setup to use passwords, you will be prompted to enter your password, following which you will be taken to the Check In Window.
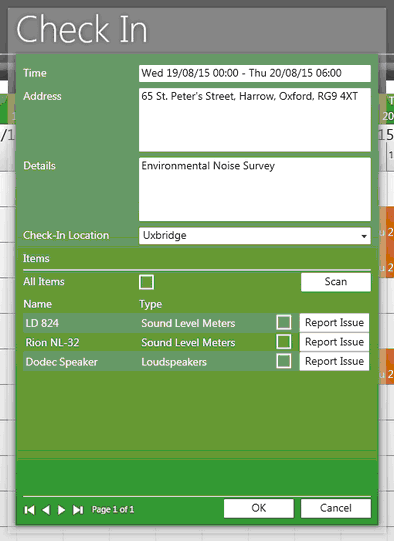
The Check-In Window shows you the information about your booking, such as time, address and details.
If you have multiple Check In Locations (if you have multiple offices with shared equipment, for example), you can also select your location from the Check-In Location drop down menu. The last check-in location will be selected by default, meaning unless the equipment has moved locations, there shouldn't be any need to change this value.
The Check In Window also shows you the items included in your booking. From here, you can either:
- Check in each item individually by checking the check box to the right of the item,
- Check in all items in one go by checking the 'All Items' check box,
- Check in each item using the barcode scanner by clicking the 'Scan' button, and scanning the items' barcode when prompted.
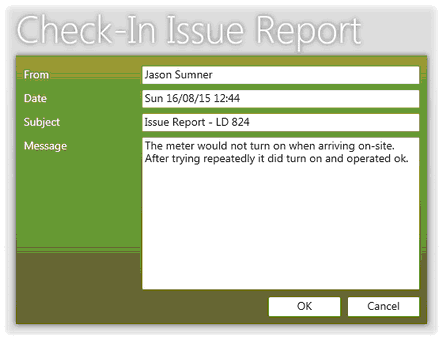
You can also report an issue with any item of equipment used in your booking by clicking the Report Issue button beside the relevant item.
Clicking OK will confirm the check in, and you will be prompted to enter any Return Variables being tracked for any equipment in your booking.

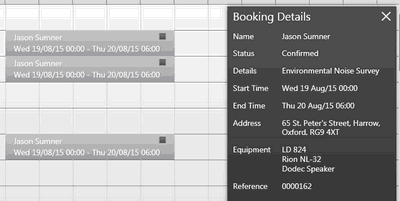
Items do not all need to be checked in at the same time, and until all items included in a booking have been checked in, the Check In button will remain visible on the booking pane.Once all items included in a booking have been checked back in, the booking area will turn grey, and can no longer be edited.