Locations |
  
|
Locations |
|
Locations allow you to specify where your equipment is (on set up), or has been checked in to when being returned from a booking. This may be useful if you have multiple work locations with shared equipment.
The equipment location will be shown on the Equipment Pane, unless it is checked-out - in which case it will show 'Checked-out'.
Tip - Equipment can be filtered by location using the Location Selector on the Calendar Controls.
Tip - If you want to move equipment from one location to another, you could for example book it for the time it is expected to be in transit, check it out from the original location upon leaving, the check it in to the new location when it arrives. Alternatively, you can set its location using the Location Menu in the Equipment Window.
Locations are created, modified and deleted from the Locations pane in the Admin Area.
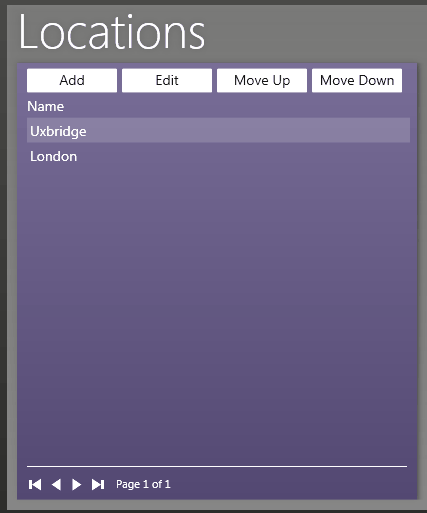
The Add button is used to create a new location. Clicking the Add button will open the Location Window ready for you to enter the details of the location you want to create.
The Edit button is used to edit an existing location. Clicking the Edit button will open the Location Window showing the details of the selected location ready for you to edit. You can also double-click on a location in the list to do the same thing.
By selecting a Location in the list and using the Move Up / Move Down buttons, you can change the order the locations appear in, for example, the Check In Window.
Tip - You can click on the headings in the panes to organize the list by the clicked heading. For example, clicking the 'Name' heading will arrange the items alphabetically by name.